Regularly inspecting your smoke detectors is essential for maintaining your home’s safety. This guide will walk you through the process of safely inspecting your smoke detectors to identify potential issues.
Tools and Materials Needed
- Ladder
- Clean cloth
- Battery tester
- Replacement batteries (if needed)
- Safety gloves
Preparing for the Inspection
- Gather Tools: Assemble all necessary tools, including a ladder, clean cloth, battery tester, replacement batteries, and safety gloves.
- Ensure Safety: Use a sturdy ladder and take necessary precautions to avoid falls.
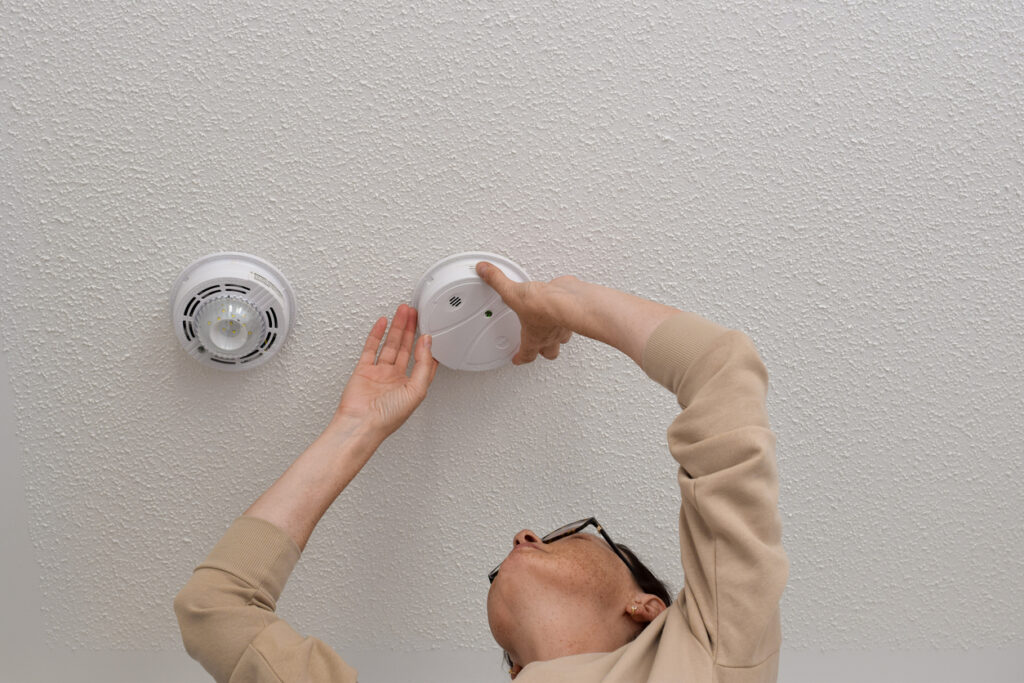
Inspecting the Smoke Detectors
- Check the Power Source: Ensure the smoke detector is connected to its power source. For battery-operated units, check the battery compartment for proper installation.
- Test the Alarm: Press the test button on the smoke detector. The alarm should sound loudly. If it doesn’t, replace the batteries or the unit.
- Inspect for Dust and Debris: Use a clean cloth to gently clean the smoke detector’s exterior and vents to remove any dust or debris.
- Check the Expiry Date: Smoke detectors have a limited lifespan, usually 8-10 years. Check the manufacturing or expiry date and replace if the unit is outdated.
- Test the Battery: Use a battery tester to check the condition of the batteries. Replace batteries that are low or dead.
Regularly inspecting your smoke detectors can help ensure they are functioning correctly and maintain your home’s safety. By following these steps, you can identify and address problems early. Our next blog will cover how to replace faulty smoke detectors.