Replacing faulty smoke detectors is essential for maintaining a safe home environment. This guide will provide step-by-step instructions on how to replace faulty smoke detectors.
Tools and Materials Needed
- New smoke detector
- Screwdriver
- Ladder
- Battery tester
- Replacement batteries (if needed)
- Safety gloves
Preparing to Replace the Smoke Detector
- Gather Tools: Assemble all necessary tools, including a new smoke detector, screwdriver, ladder, battery tester, replacement batteries, and safety gloves.
- Turn Off Power: For hardwired smoke detectors, turn off the power at the circuit breaker to avoid electric shock.
Removing the Old Smoke Detector
- Remove the Unit: Use a screwdriver to remove the screws securing the old smoke detector to the ceiling or wall. Carefully detach it from the mounting bracket.
- Disconnect Wires: For hardwired units, disconnect the wires by unscrewing the wire nuts. Note the connections for later.
- Remove Batteries: For battery-operated units, remove the old batteries and dispose of them properly.
Installing the New Smoke Detector
- Connect Wires (if needed): For hardwired units, connect the wires from the new smoke detector to the existing wires using wire nuts. Match the colors as noted earlier.
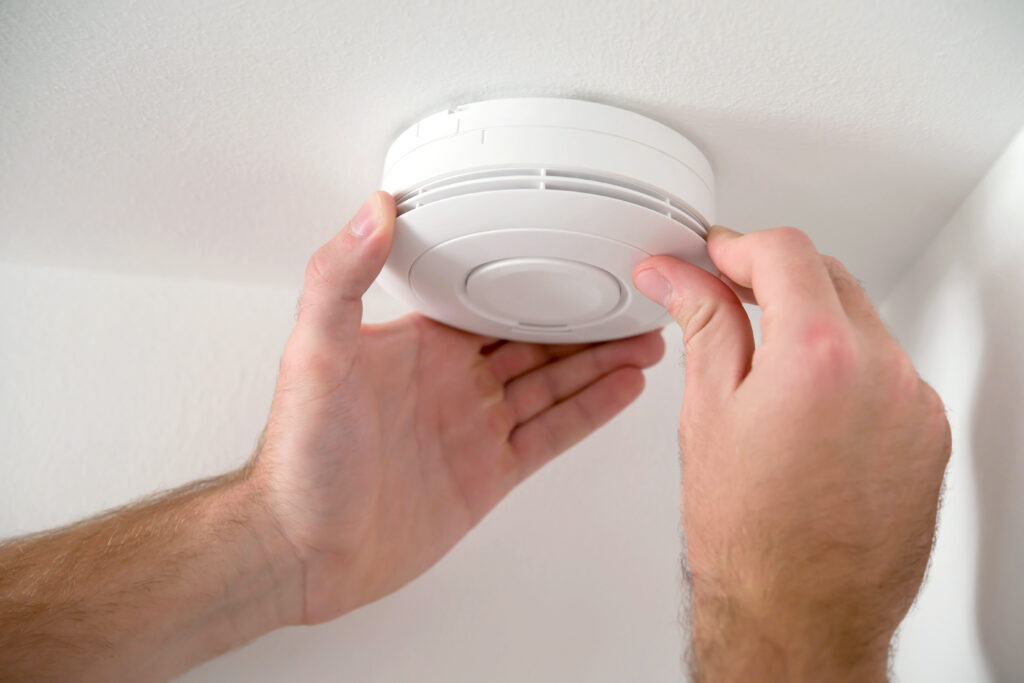
- Mount the Unit: Secure the new smoke detector to the mounting bracket using a screwdriver.
- Insert Batteries: For battery-operated units, insert new batteries into the battery compartment.
- Test the Alarm: Press the test button to ensure the new smoke detector is functioning correctly.
Replacing faulty smoke detectors is a straightforward process that can enhance your home’s safety. By following these steps, you can ensure a proper and secure installation. Our next blog will cover how to maintain your smoke detectors for longevity.